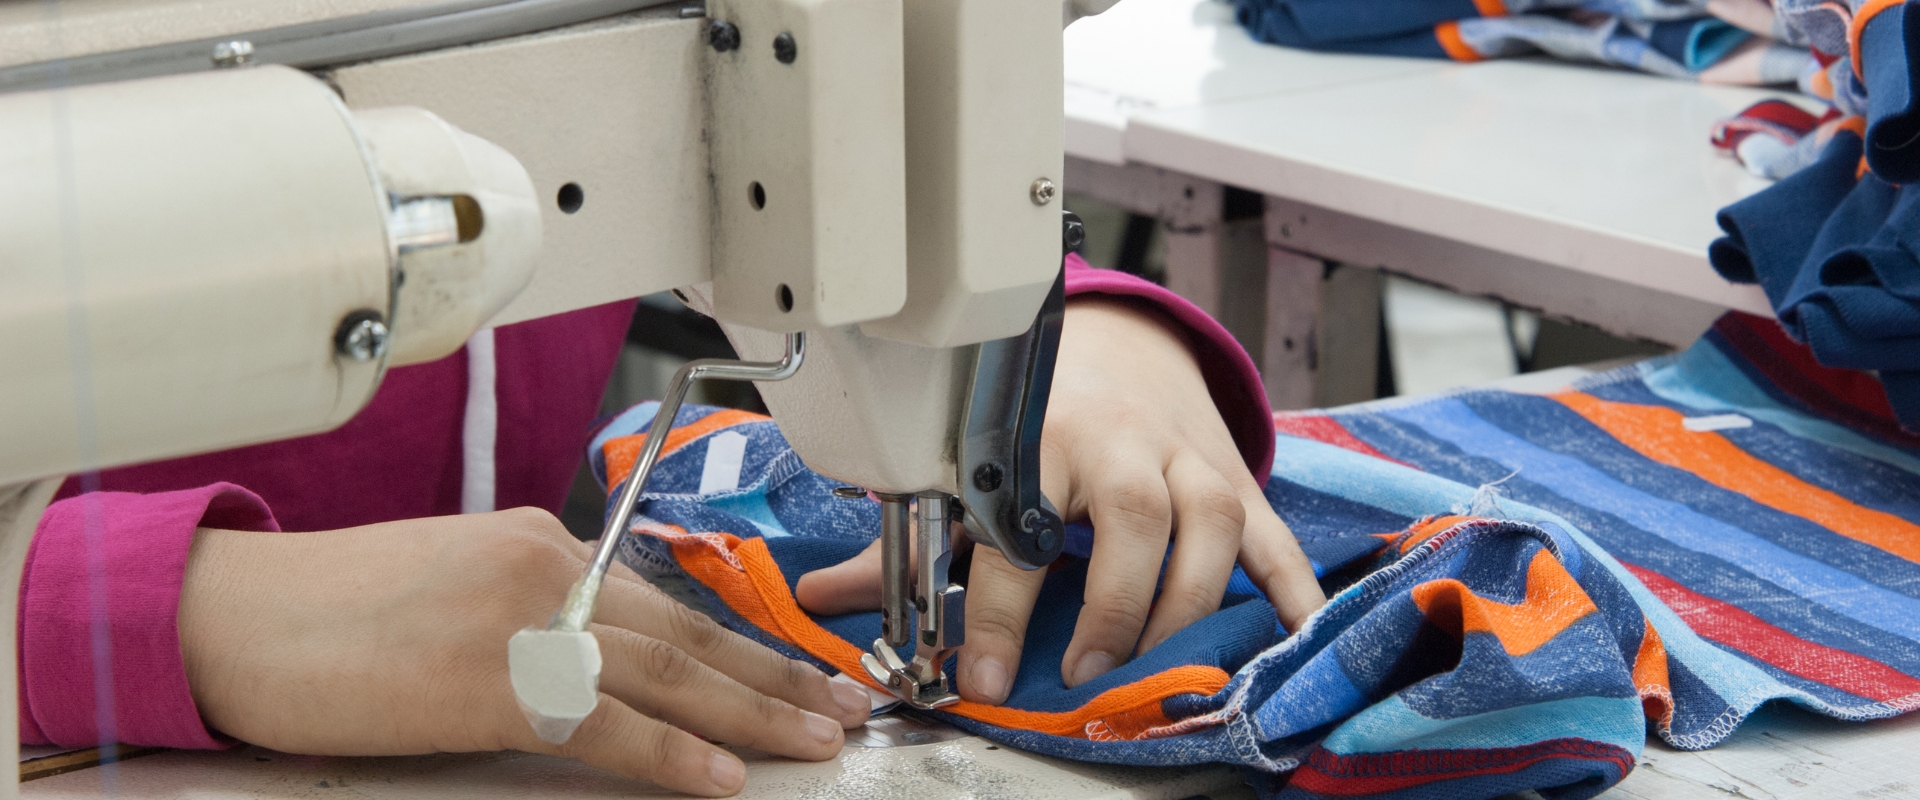
Whether you work in the garment industry, are a clothes seller, or are someone who wants to start a garment business, it is essential to understand the processes of how the shirt is made.
Generally, clothes can be made at a tailor shop or a garment manufacturer using industrial sewing machines. Apart from where the shirt is being produced, the primary shirt manufacturing process is all the same.
Starting by getting the order from the consumer, searching for materials, cutting the fabric, sewing, and finishing and packing the final product. Finally, the new arrival shirts are ready to be delivered to the customer.
Here we have covered step by step to provide you with a better understanding of the shirt manufacturing process.
Table of Contents
1. Fabric Selection
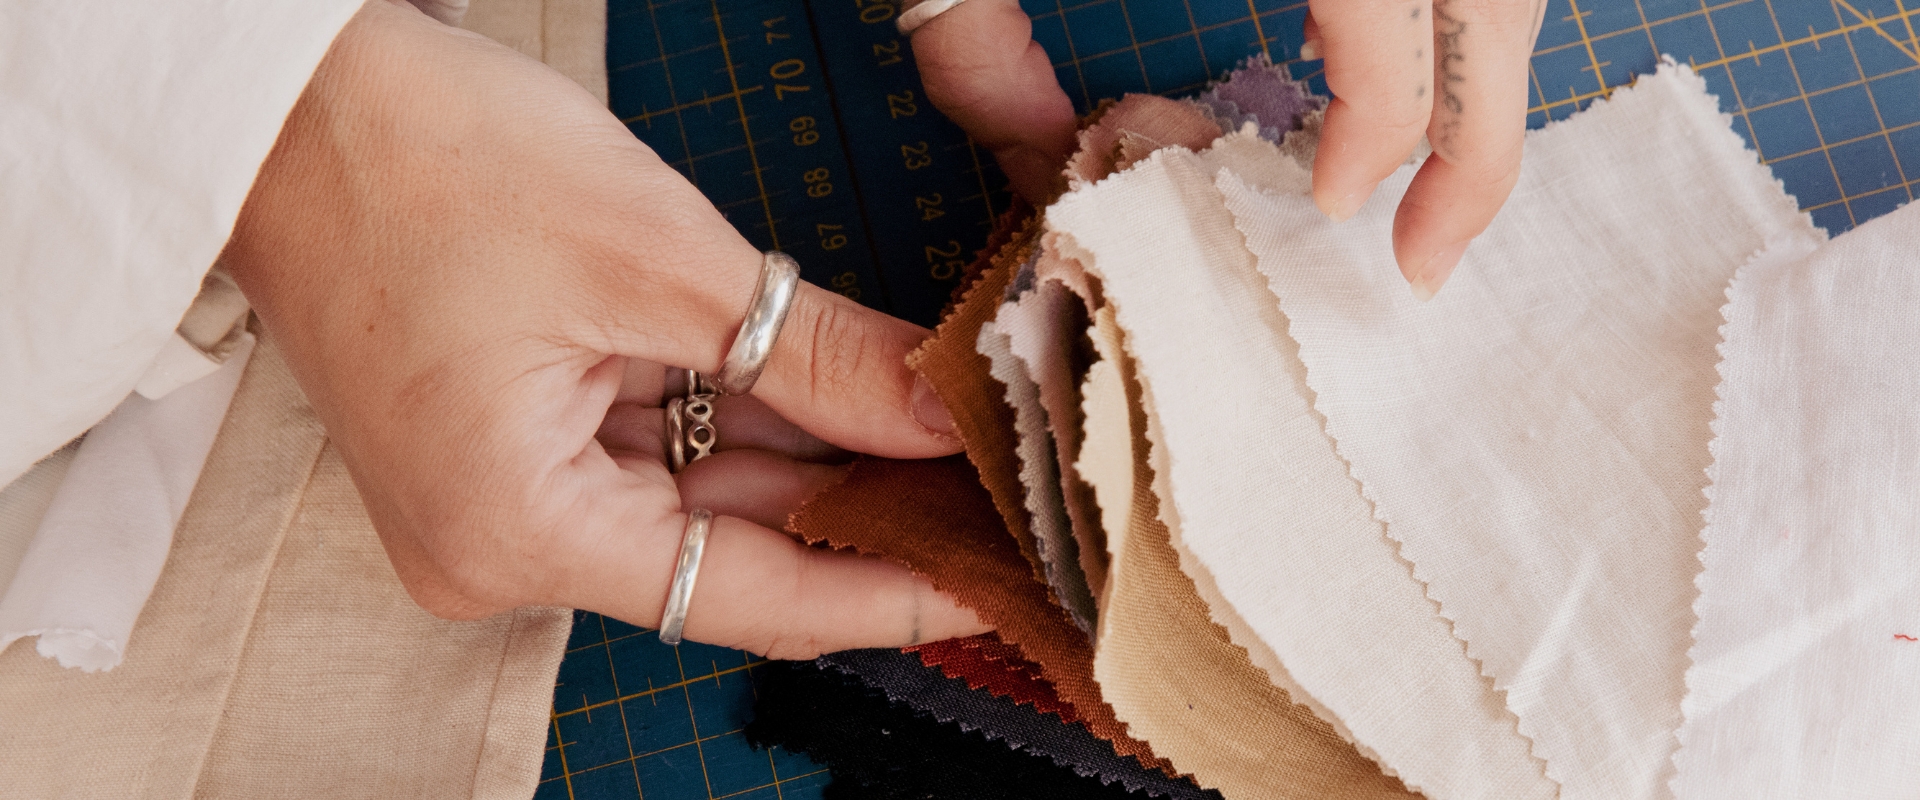
Selecting the fabric is the first step in the shirt-making process. As a businessman, you need to learn the market demand. Study your customer and analyze their needs.
Whoever your target consumer is, as a seller, you have to offer them the best quality of service and product. Hence, choose the fabric carefully for good quality results. To name a few, here are some common fabrics used in clothing manufacture:
- Cotton
- Polyester
- Rayon
- Linen
- Denim
- Wool
- Satin
- Silk
2. Design and Development of Shirt

This process requires creativity to develop new ideas for a shirt design or existing styles. You have to know how to sell your clothing brand in a fashionable and functional way.
As garment businessmen, it is crucial to follow fast-moving consumer fashion. Research of the current trend nowadays can be conducted by: subscribing to fashion magazines, attending trade exhibitions, exploring social media, tracking your favorite designer, and more.
Now, after you know the trend, begin to sketch the design and make a prototype (an early model or sample of the product). It is used to test the design, whether the design is excellent, and whether it’s comfortable to wear. It also helps to detect if there are any problems and earn feedback from the end-user before undergoing mass production.
3. Making Clothes Patterns

After the designing process is completed, it is time to make a pattern. Creating a clothing pattern is vital to produce the final product that is well-fitting and has an appropriate size and shape.
There are two common ways of making a pattern; using a template (paper or cardboard) or a CAD (computer-aided design) program.
The first method transfers the design to a paper or cardboard template, then traces the outline into the fabric. Then cut the fabric following the traced line. After that, it has to be sewn to form a final garment.
The second method is a computer-aided design program. As the name suggests, it is beneficial to help you make sketches and designs for the garment. You can create as many designs and correct the errors many times until you feel satisfied.
4. Grading
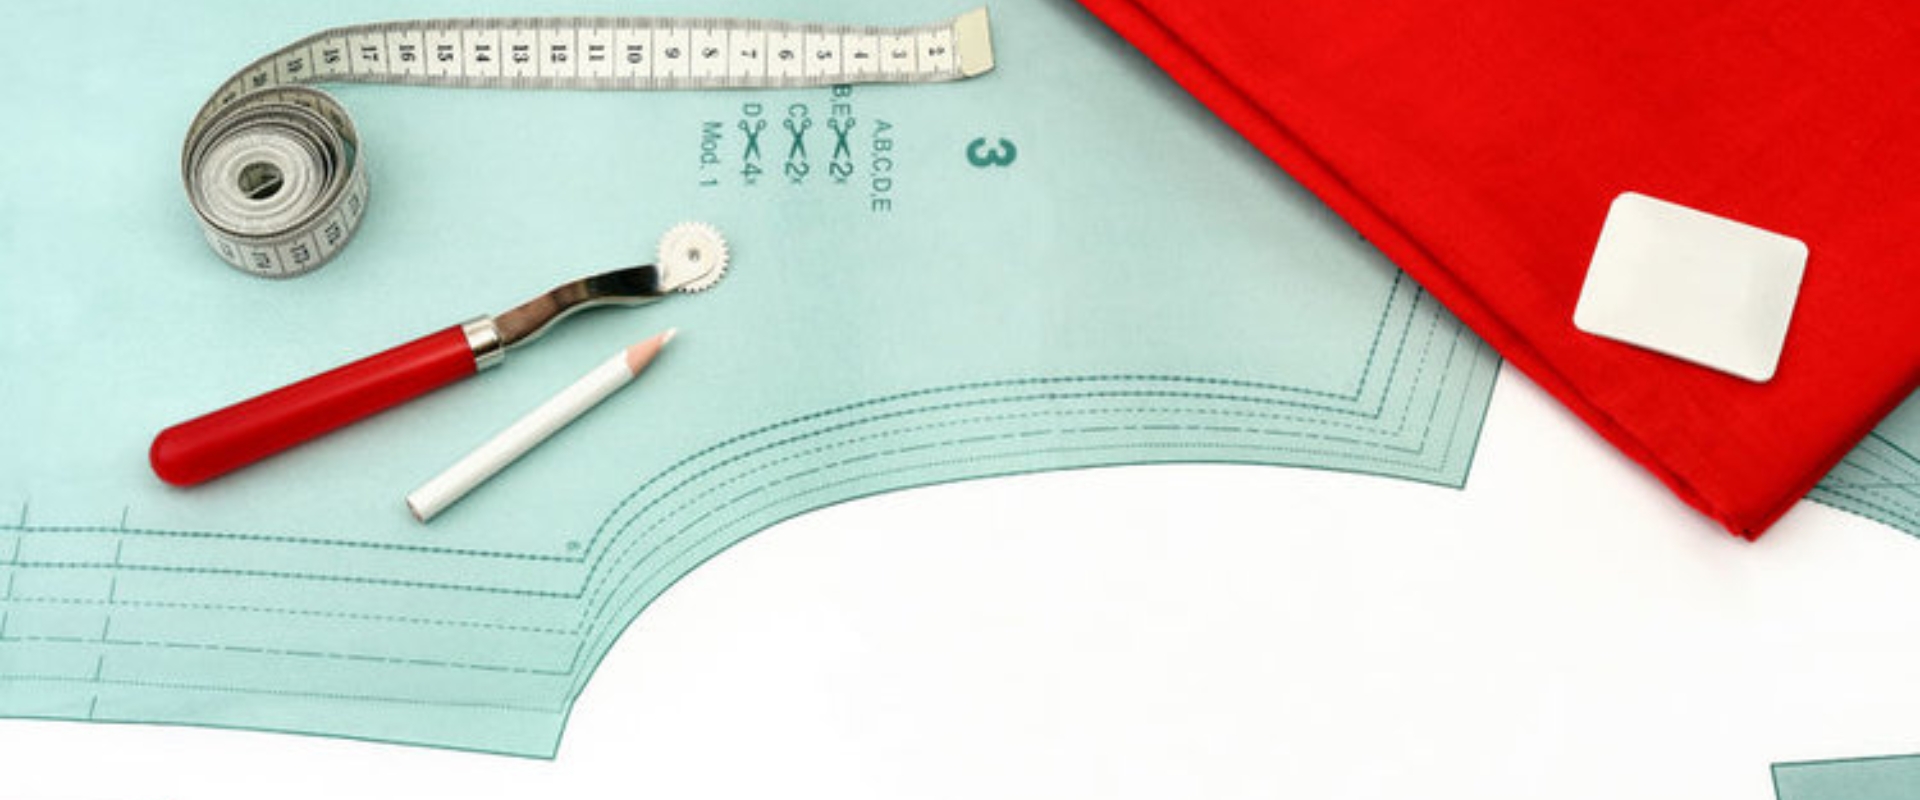
Grading can be done by making a variety of sizes from the original pattern. Say that the base pattern is in “s” size; in the grading process, you have to make slight gradual changes to add more range of sizes to “M”, “XL”, “XXL”, and the list goes on.
Grading consists of two types; horizontal and vertical. While flat makes a different width from the original pattern, steep grading is used to create different lengths.
In this digital era, where everything can be done easier using computers, the grading process is one of them. It makes it more convenient for the designer of garments.
5. Marking and Fabric Cuttings
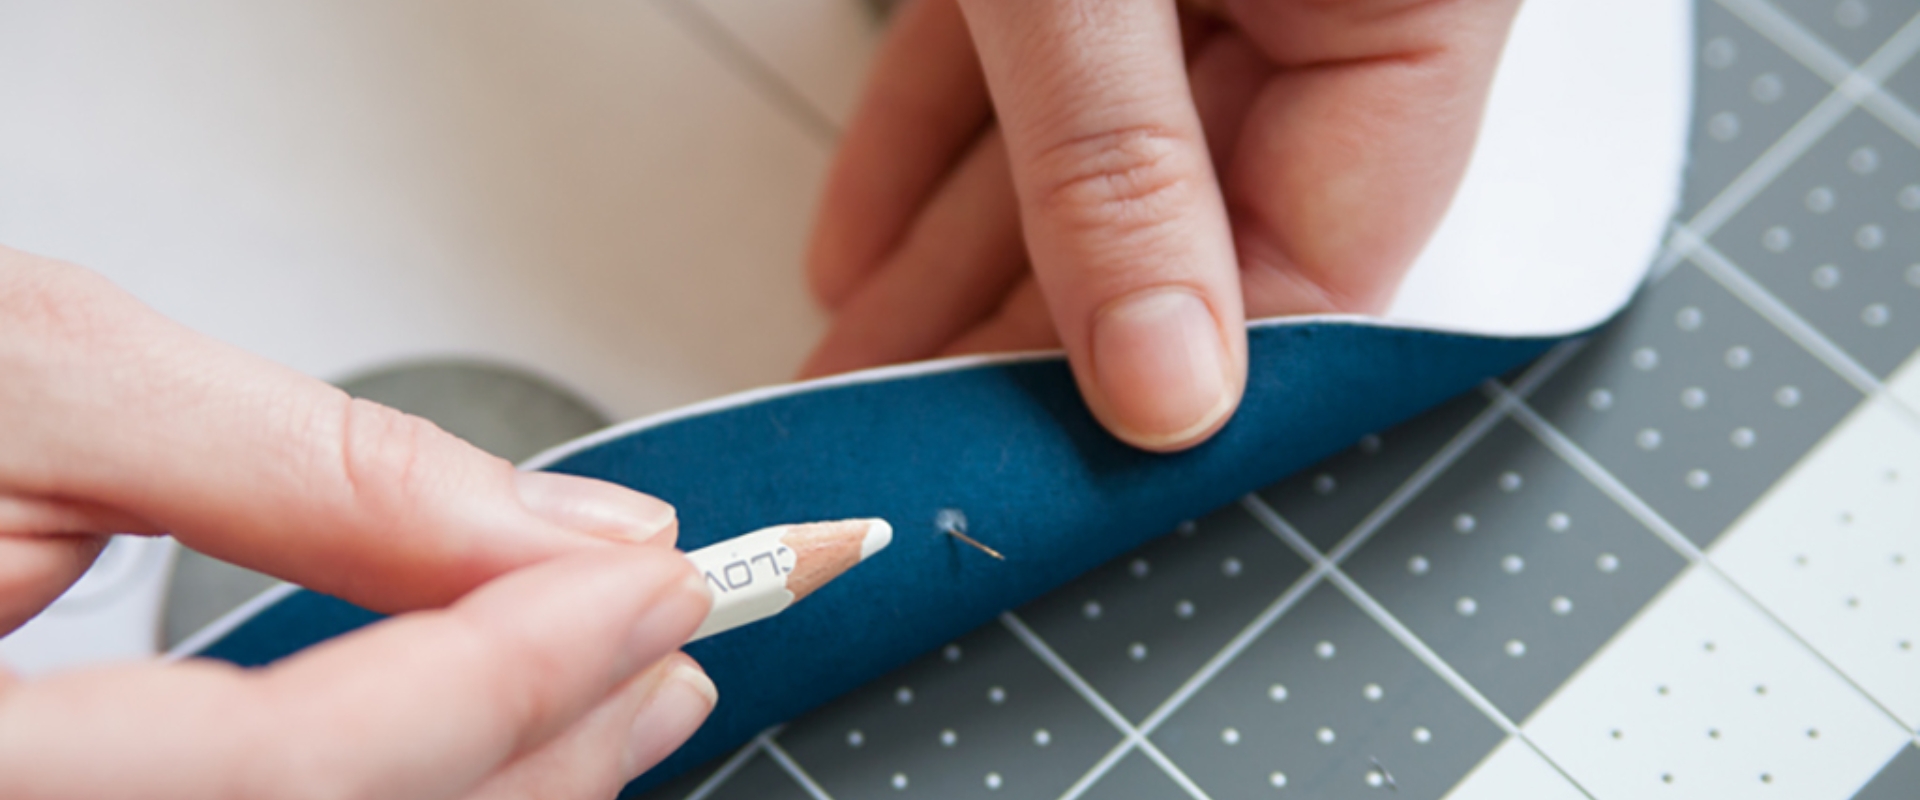
These two gradual processes play crucial roles in the production. Marking refers to creating lines on the fabric before cutting it.
The tools can be temporary or permanent, depending on the size of the fabric. Chalk is used for making temporary lines for a smaller fabric. A permanent marker is drawn on a larger fabric.
Once the marking is done, it is continued by cutting. Sharp tools such as knives, scissors, or a rotary cutter can be applied to cut the fabric following the marking lines drawn beforehand.
These two steps should be done carefully to create the best quality shirt.
6. Sewing

The sixth step is sewing, the last of the shirt production process. It is the process of joining the pieces of fabric that had been cut before. The garments are sewn together using thread and needle by hand or with a sewing machine.
The advantage of sewing by hand will give it a detailed and delicate finish; however, it will take longer. Meanwhile, using a sewing machine is more convenient and done faster, but the result won’t be as excellent and intricate as hand sewing.
Zigzag stitches, straight stitches, and buttonholes are 3 regular types of stitches used in sewing.
7. Garment Inspection
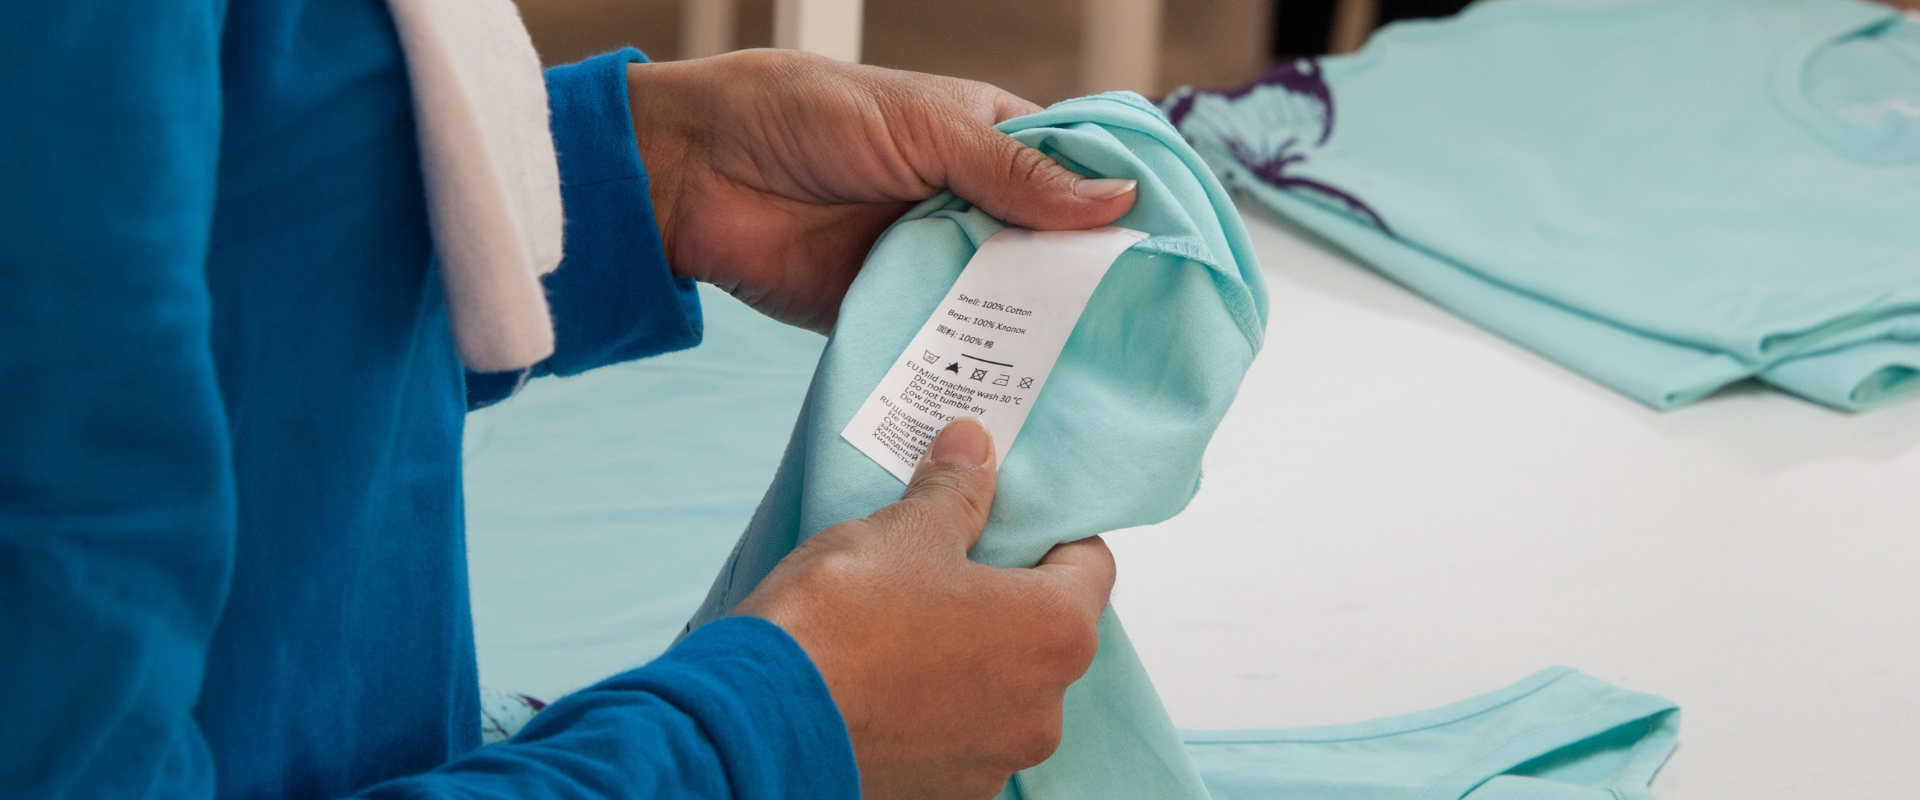
After all the step-by-step shirt-making processes are completed, the garment quality inspection must be done. This process should be done thoroughly and carefully because it will tell the market how good the product quality that the clothing manufacturing company has.
The Quality Control (QC) in the company is responsible for noticing any problems or defects in the quality of the products. The QC checker has some garment defect list and standards to which the product is still acceptable to be shipped to the supplier or customer.
As pointed out by QIMA there are 5 pivotal steps for garment inspection to prevent consumer complaints of bad quality products:
- Ensure the dimensions of the garment are the same as the sizes,
- Do physical testing (stretch, pull) for any accessories such as zippers, ribbons, snaps, buttons,
- Check the solidity of the product, and whether it complies with the same fabric you chose at the beginning of shirt production. It will affect the durability of the fabric.
- Do the label inspection. Labeling correctly will prevent trouble in Customs and the exporting process to the US or Europe.
- Ensure the packaging is appropriate and safe so the products will arrive at their destination in perfect condition.
In addition, when the products do not pass the quality control process (reject), they will become the stock lot garment.
8. Finishing
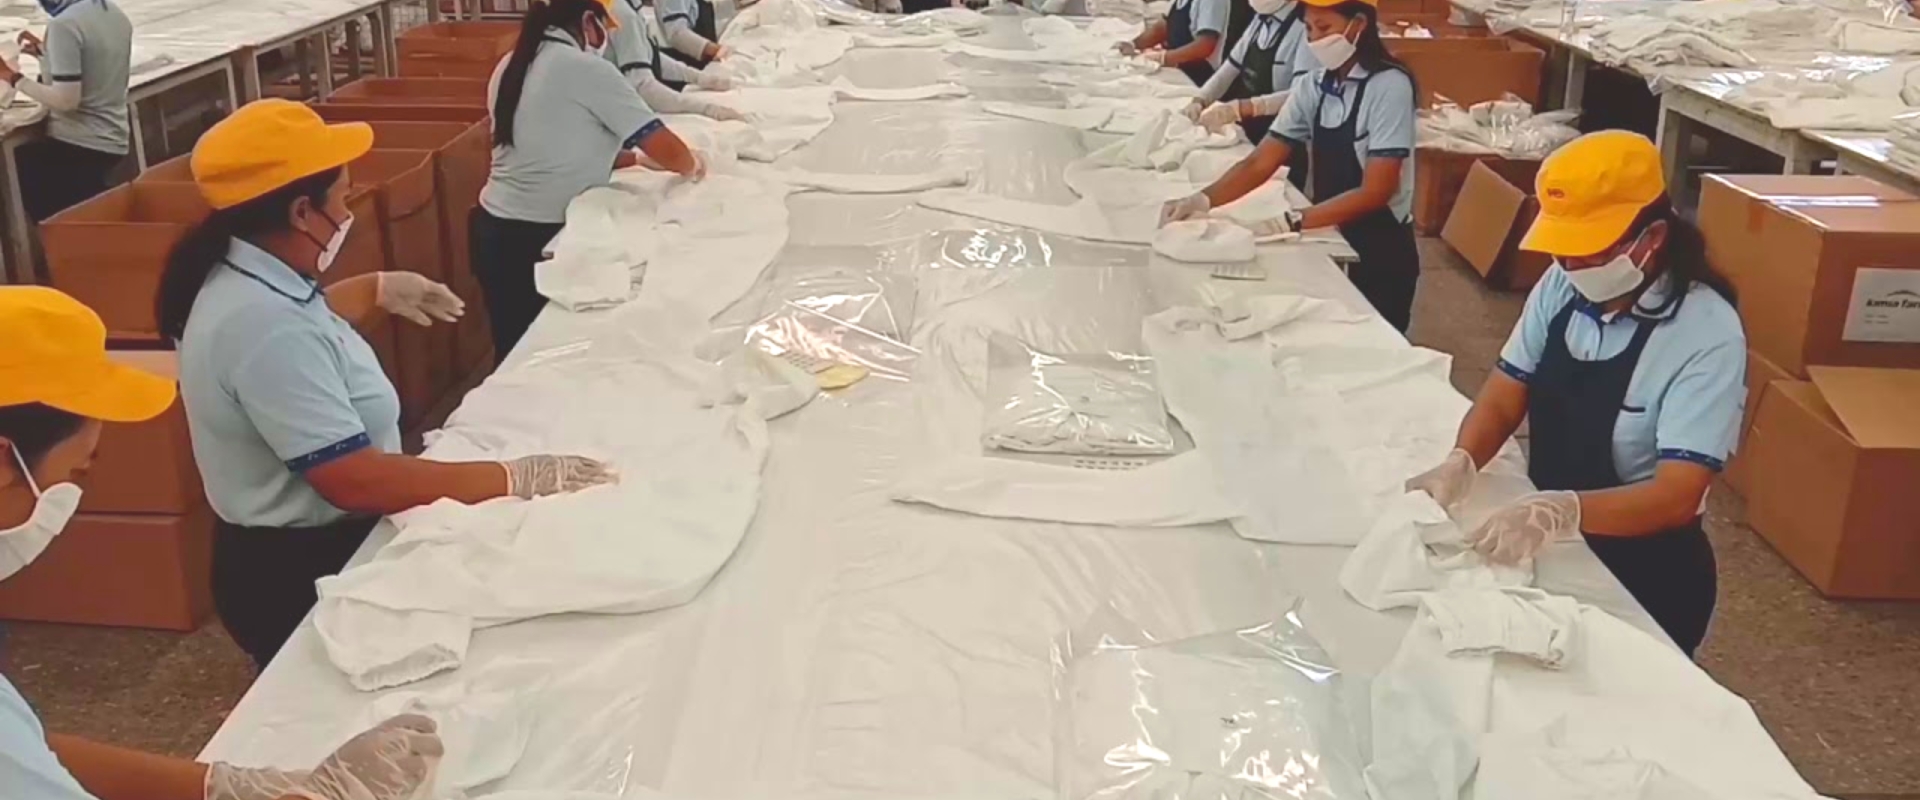
Once it has passed the garment inspection, it is time to finish. This last step includes:
- Improving the appearance by adding more details to the garment, such as embellishment (zippers, Appliqués, buttons, ribbon, etc.)
- Enhancing functionality and the quality of the shirts, for instance, making them antiperspirant, wrinkle-resistant, etc
- Adding extra special features (if there are any) like flame-resistant qualities.
Moreover, there are other finishing processes, such as washing, bleaching, dyeing, printing, and coating.
Every garment business person should know the 8 steps of the shirt manufacturing process. The future of the garment manufacturing process is predicted to change shortly, and it will involve more machine or artificial intelligence than human labor. It follows the fast-moving fashion trends and demands from the market.
Are you looking for stock lot garment buyers in Indonesia? Check this site, stocklotimporter.com, to get more information.